Carving a Wigeon Head with Spencer Tinkham, Part 1
Text and Photos by Spencer Tinkham
This article was created to show other people how I create decoys using old- fashioned methods. I hope that this will show new carvers how much can be done with simple, cheap, and everyday tools.
 |
| Carving a Wigeon Head with Spencer Tinkham |
|
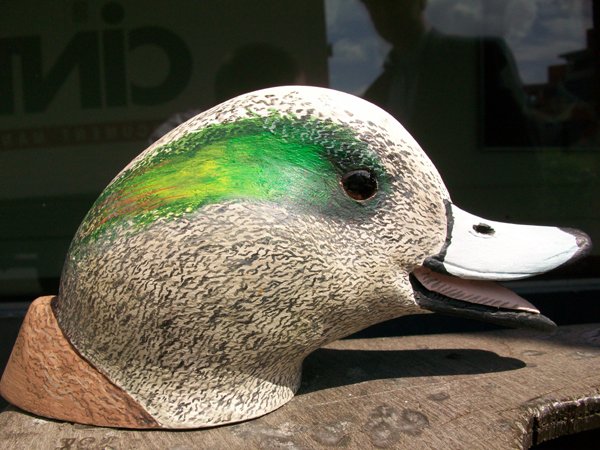
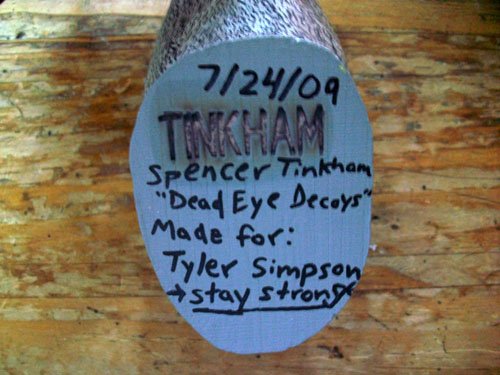
This carving was made as a gift for a neighbor, classmate, teammate, and fellow duck hunter who faced a crippling accident that left him partially paralyzed. He is currently steadily recovering. I chose a widgeon because it reminds us of the many times that we called them in, and laughed at the funny head positions they had. Widgeon have always been a favorite of mine. |
 |
|
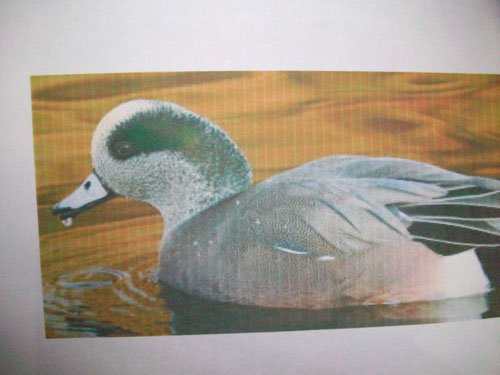
1. First it is CRUCIAL to get proper reference. It’s well worth the time. Don’t be “cheap” here, a wing given to you by a friend training a dog, a professional photographer giving you pictures, or even the time you spend observing or hunting the birds significantly pay off. |
 2. 2. Don’t forget…… more reference. 2. 2. Don’t forget…… more reference. |
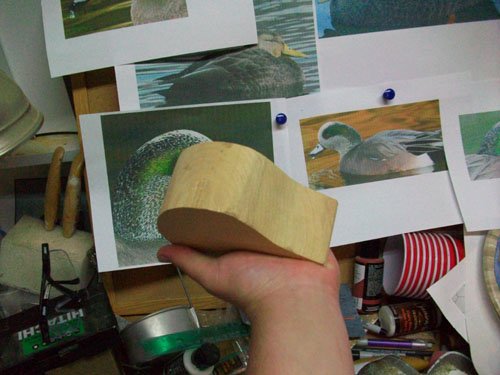 |
| 3. Before I got used to a band saw, I never cut out the top views. The old timers didn’t, and I just never thought about it until a couple of years ago. Top views save you time, and sharp tools, while offering a TON of correction room for the new carvers. |
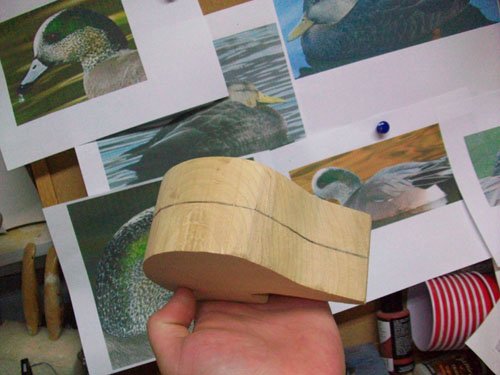 |
| 4. Draw your center line down the whole head. |
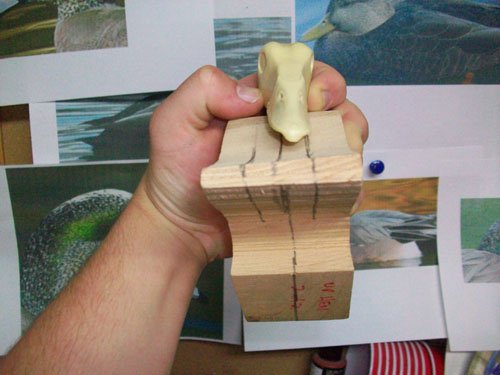 |
| 5. Draw lines for the bill that are slightly larger than the actual bill. If you don’t have a study bill, just draw them a little larger than you think is right. |
 |
| 6. Know where you’re going to saw before you saw! Be careful not to saw a corner off the neck by accident. |
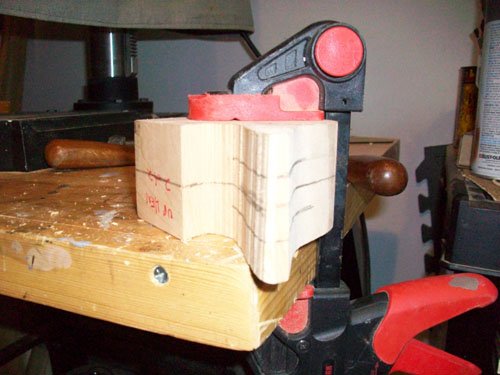 |
| 7. Clamp |
 |
| 8. Saw from bill line to bill line |
 |
| 9. At this point you want to double check and make sure all your bodies, heads, and keels are marked. There is nothing worse than putting the wrong head on the wrong body, the wrong keel on the wrong size duck, etc. It pays off in the long run, because you know you’re right and never have any questions. |
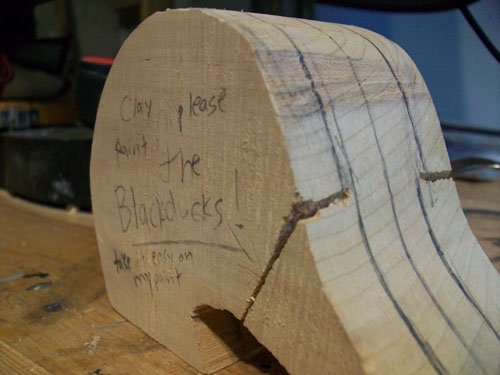 |
| 10. Sawed bill |
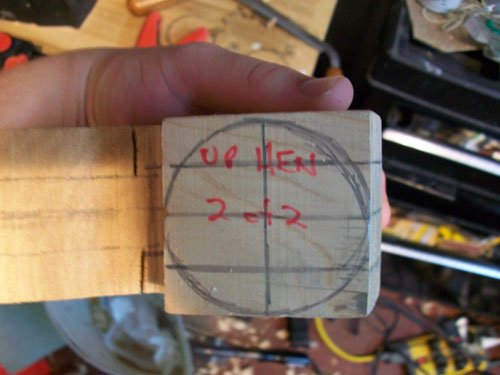 |
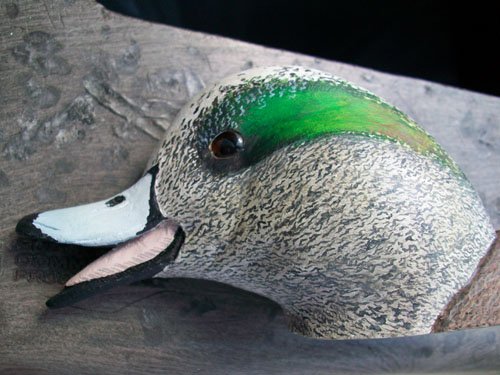
| 11. Draw the base of the neck. If you have trouble with symmetry, don’t be afraid to draw a grid. |
 |
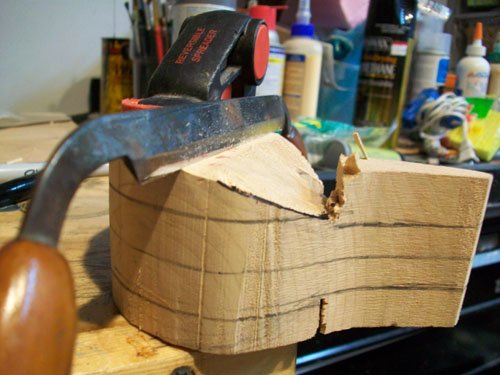
| 12. Rough the head out with a drawknife, DO NOT TAKE OFF BILL AREA!!! |
 |
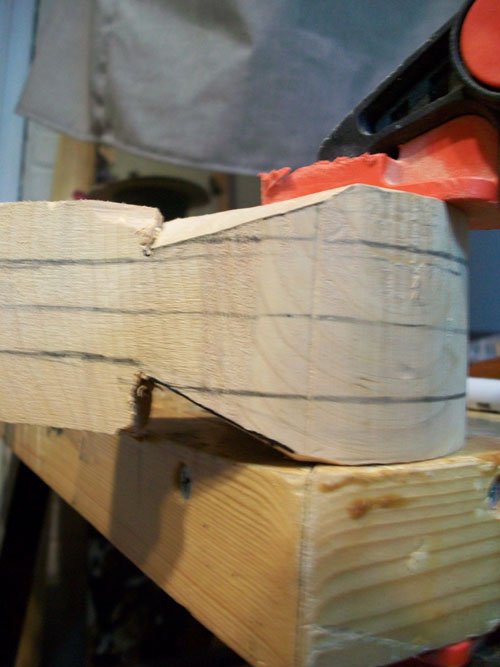
| 13. Another angle of the head |
 |
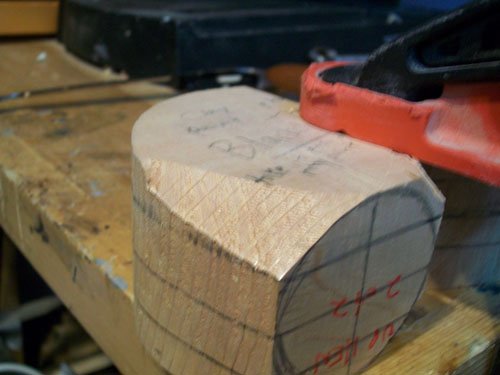
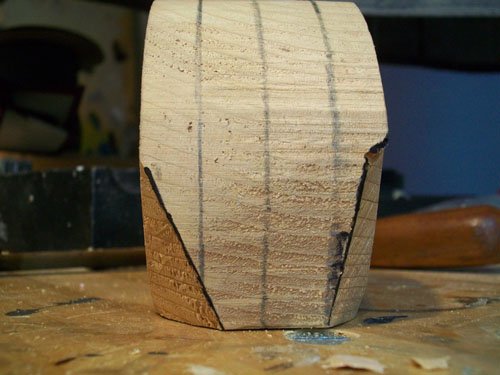
| 14. Notice how I stopped when I hit my saw mark. Do not go too deep, or too shallow. You will know by putting a knife blade where you sawed, if it wiggles, you’re good; if it gets locked into the saw mark, it means that you still have a little ways to go until you meet your mark. |
 |
| 15. Rough out back of head by cutting from “bill to tail.” DO NOT CUT UP AND DOWN. YOU’LL CHIP THE WOOD OUT! |
 |
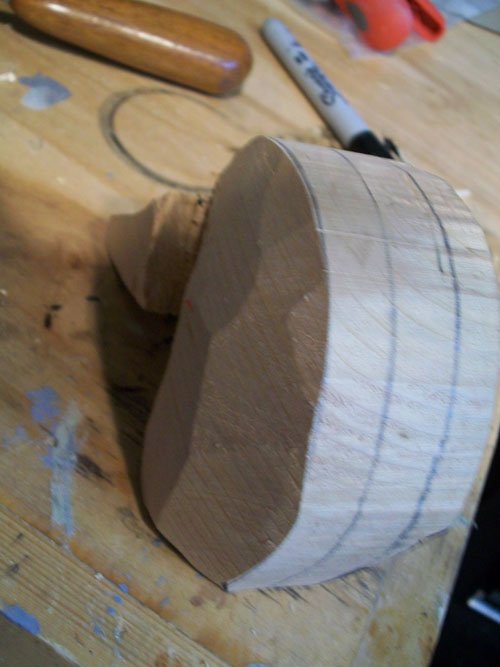
| 16. Another angle. |
 |
| 17. Keep rounding with the drawknife. |
 |
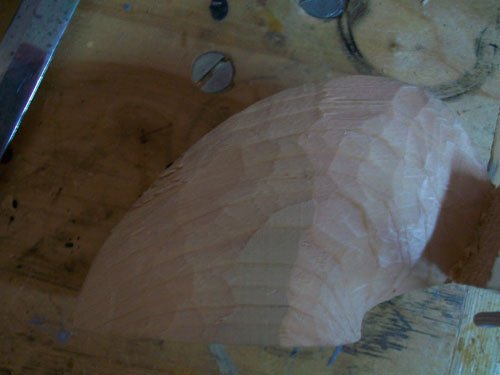
| 18. More rounding. It’s a lot easier/quicker to use the drawknife than it is to carve it with an X-Acto. |
 |
| 19. Now start to finely round the head with the X-Acto. |
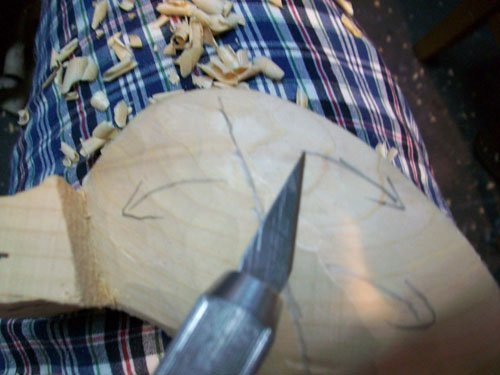 |
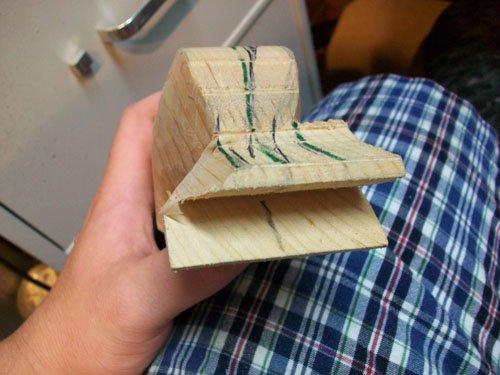
| 20. Note direction the blade should be moving. |
 |
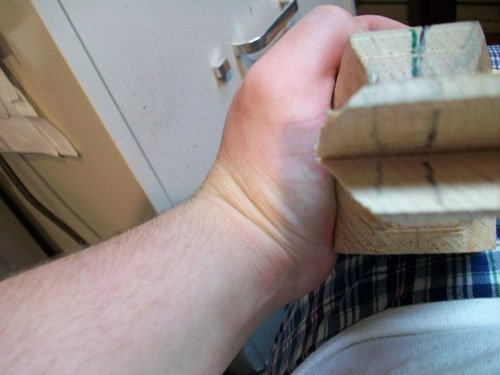
| 21. Make another diagonal cut from the bill line. |
 |
|
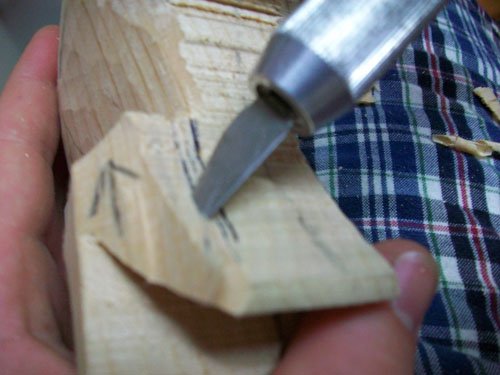
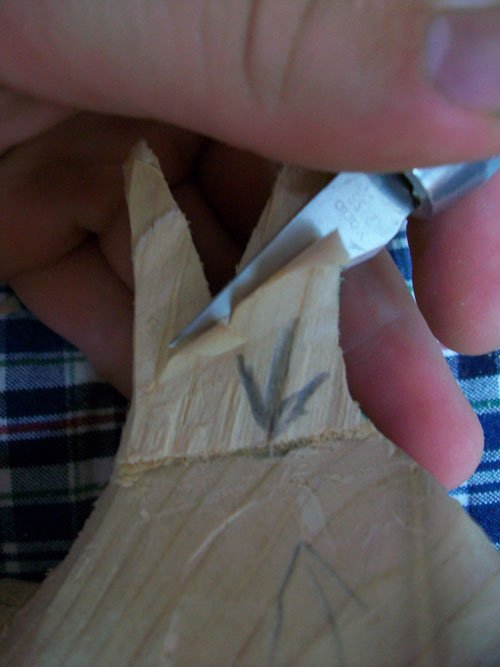
22. Now start taking the bill area out. Make a diagonal cut to bill line. |
 |
|
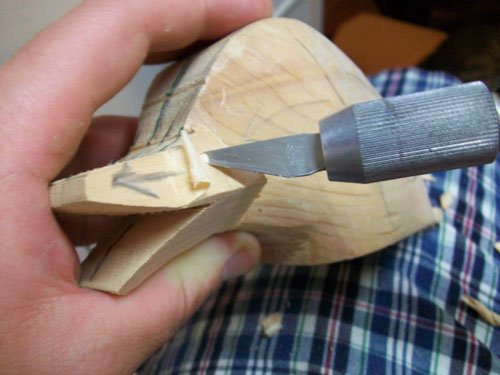
23. Another angle. Now you can take the bulk out going from BILL TO TAIL. |
 |
|
|
 |
| 24. Clean it up a little. |
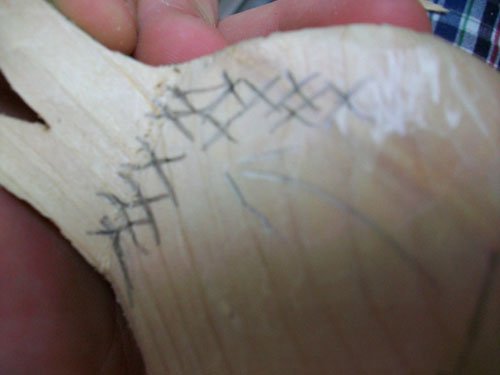 |
| 25. Now transition the bill into the head. |
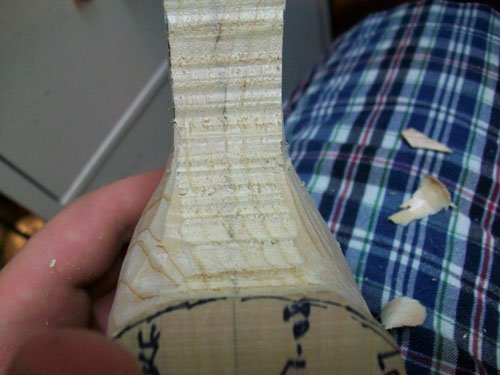 |
| 26. Don’t forget under the bill. |
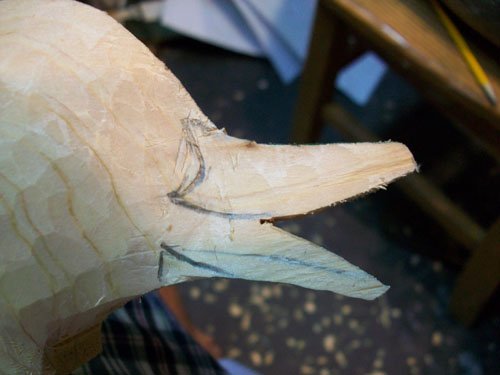 |
| 27. Draw in your bill lines. |
 |
| 28. Keep drawing. |
 |
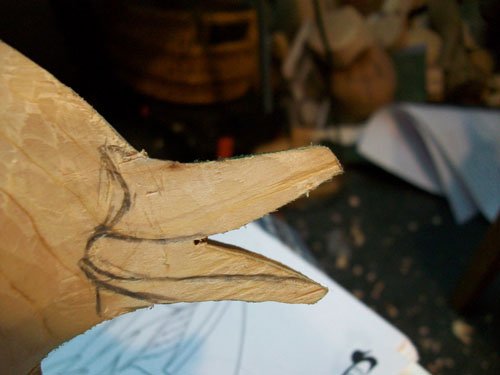
| 29. Make cuts under bill |
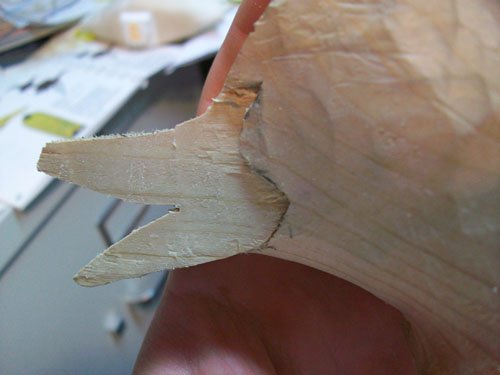 |
| 30. Now cut outline of bill and carve excess material off until you get to the actual width of the bill. This is why you left extra material when drawing your bill line in the beginning! |
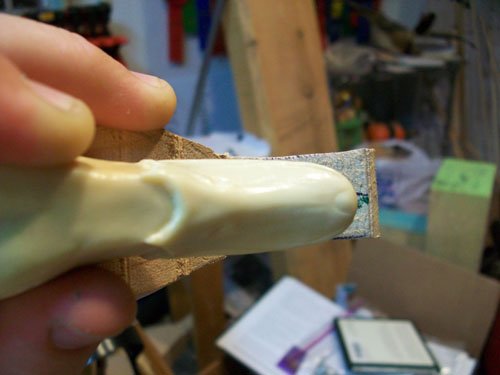 |
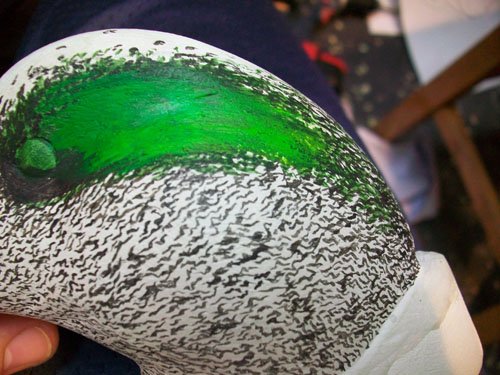
| 31. Double check that you have the right width. |
 |
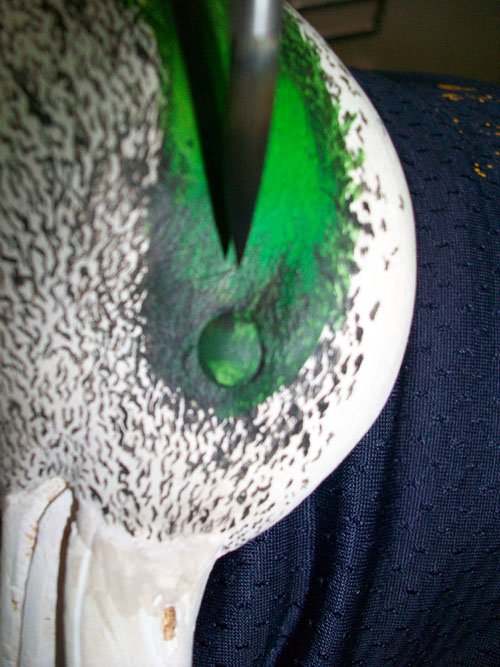
| 32. Start to carve the end of the bill. |
 |
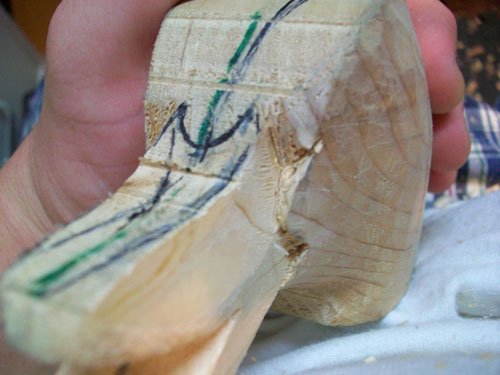
| 33. Now cut in at the top of the bill so that the bill will look like it goes directly into the head. |
 |
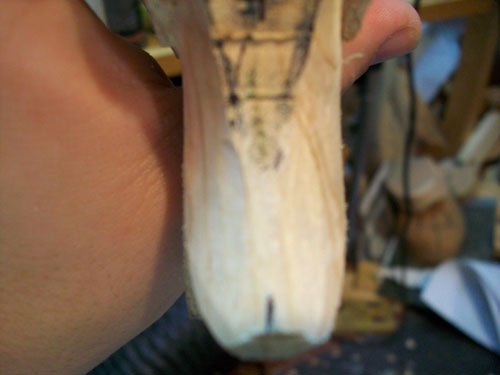
| 34. Start rounding the bill. |
 |
| 35. Keep rounding little by little. |
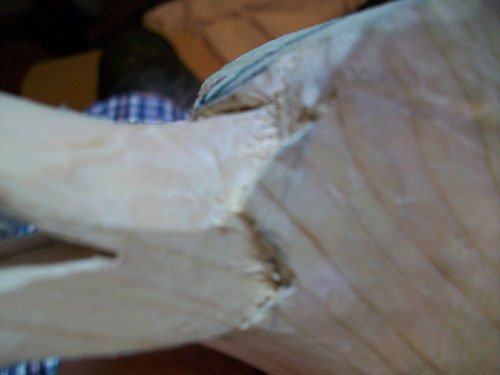 |
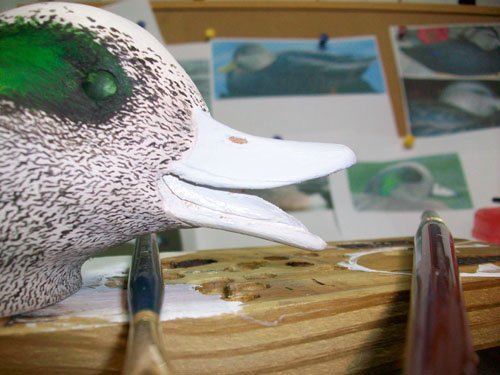
| 36. Most of the rounding is done for the upper mandible. |
 |
|
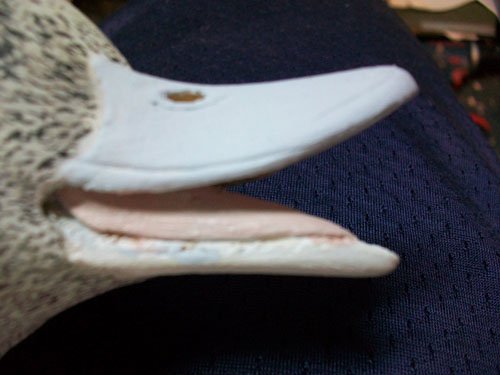
37. Draw in your lower mandible. |
 |
|
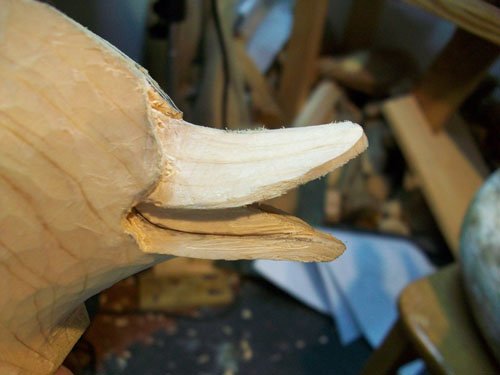
38. Carve the lower mandible. |
 |
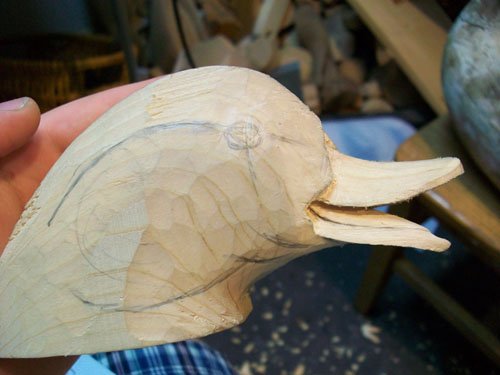
| 39. Set a relief cut for the tongue. |
 |
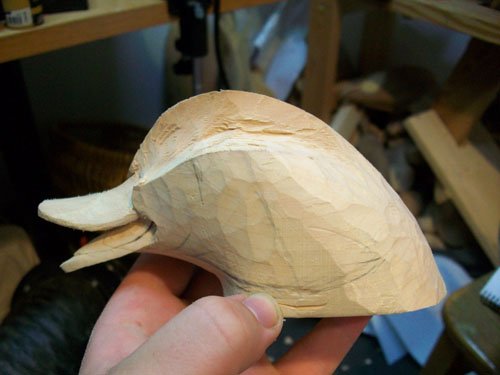
| 40. Keep drawing lines. “A pencil is the cheapest and most important tool you can use while making your decoy…” Brother Gaskill, East Carolina show, Feb 2009. |
 |
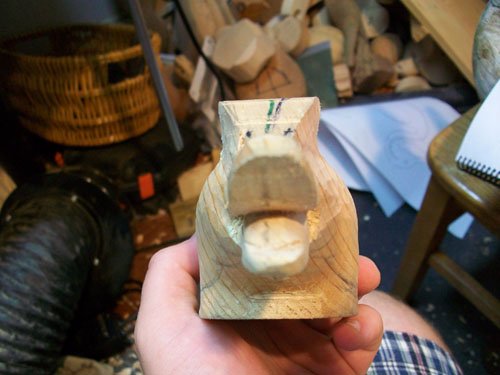
| 41. Start to carve the channel for the cheek. Remember, the direction of the blade goes when carving the head! |
 |
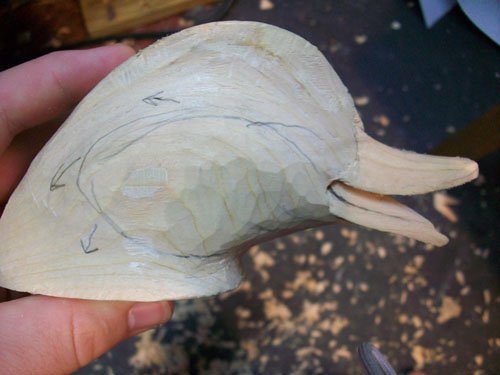
| 42. Front view of head. |
 |
| 43. Start to carve the neck in. |
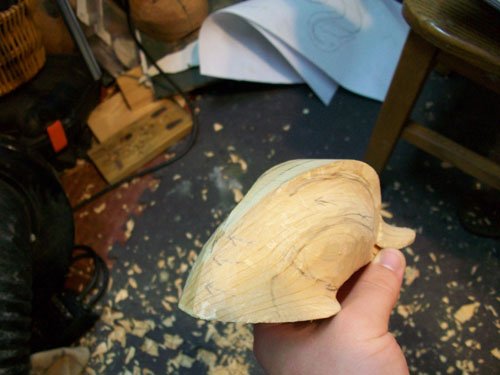 |
| 44. Another view. |
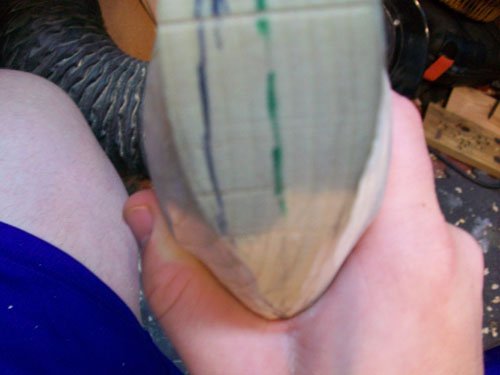 |
| 45. Keep in mind your top view when carving in the neck/back part of the cheek. |
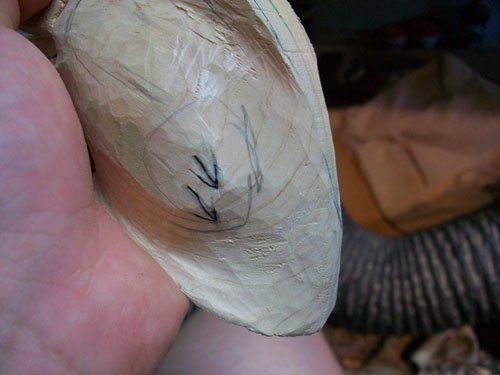 |
| 46. Take any bumps out and transition neck to cheek. |
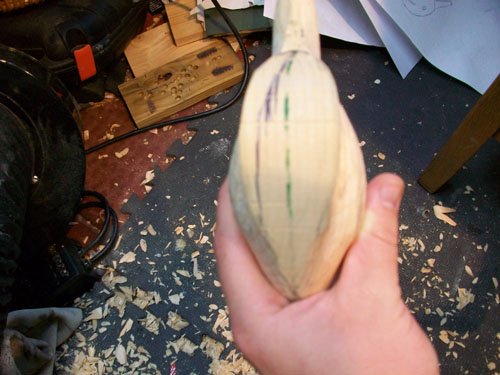 |
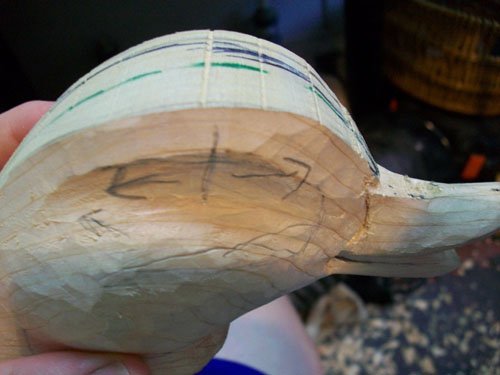
| 47. Top view of a transitioned cheek (left of centerline) and cheek that has not yet been transitioned to the back of the head (right of centerline). |
 |
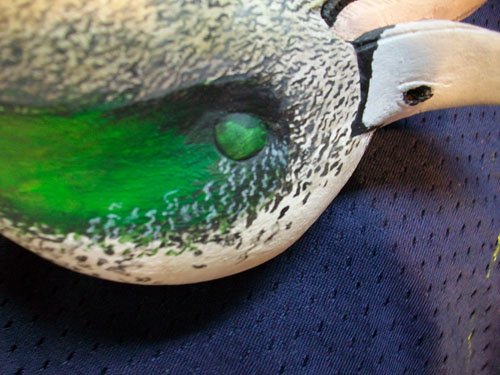
| 48. Now start to round the crown. The first cut takes the corner off. Note direction of blade. |
 |
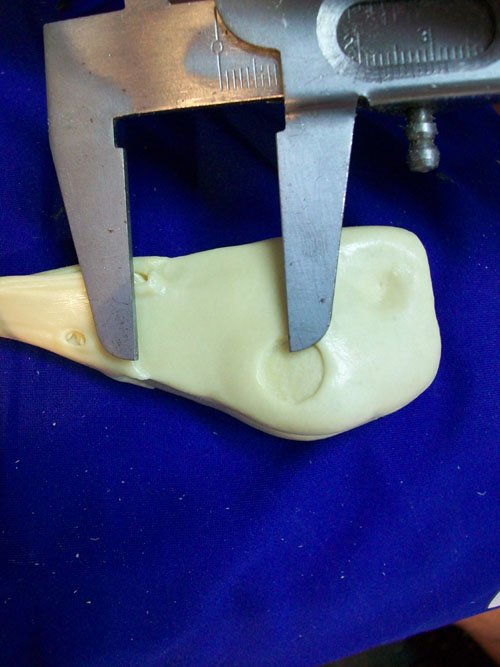
| 49. This is the finished crown after carefully rounding. NOTE: Centerline is left as is, so the side profile will never be affected. |
 |
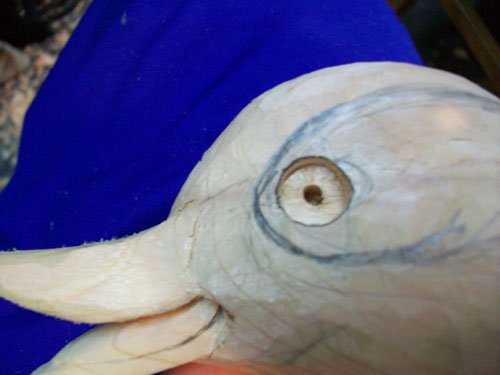
| 50. Measure from bill to eye; leave extra room for pencil width! |
 |
| 51. Drill eye with 10 mm bit or use what ever bit you have that is close enough. NOTE: This channel, or even the eye, may be carved in. |
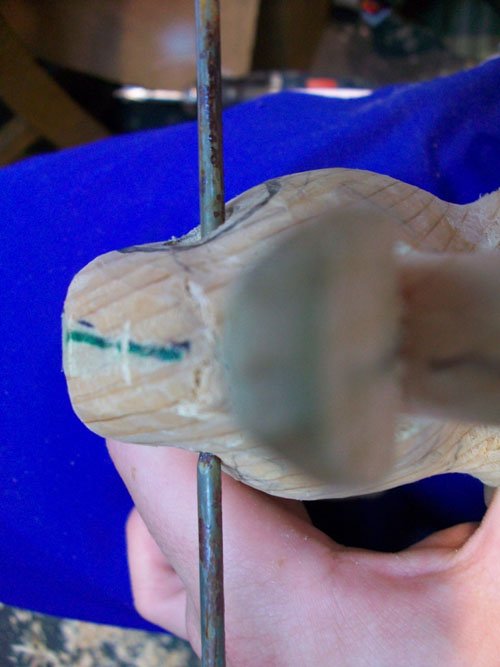 |
| 52. Line up eyes with whatever you have nails, tacks, punches, etc. |
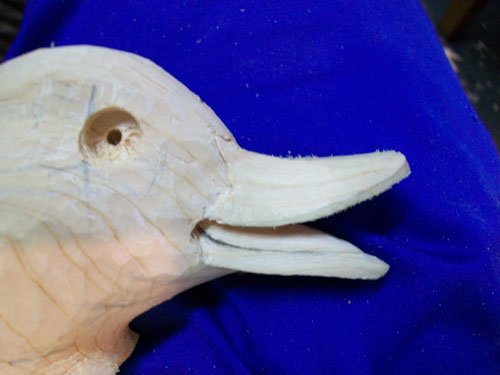 |
| 53. Drill other eye. |
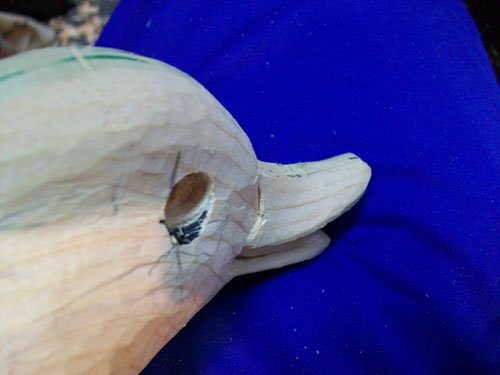 |
| 54. Carve the bulk out of the eye channel, so your eye will sit straight. NOTE: This is a COMMON step many new carvers skip, but it is CRUCIAL to the overall outcome of the head and whole bird. |
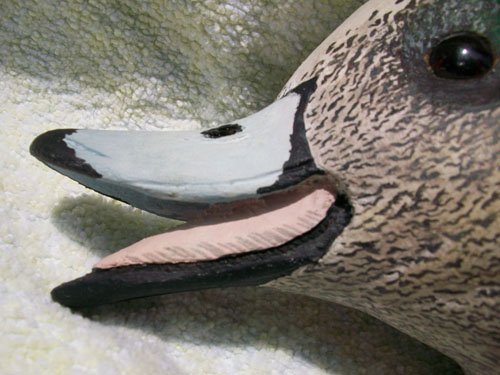 |
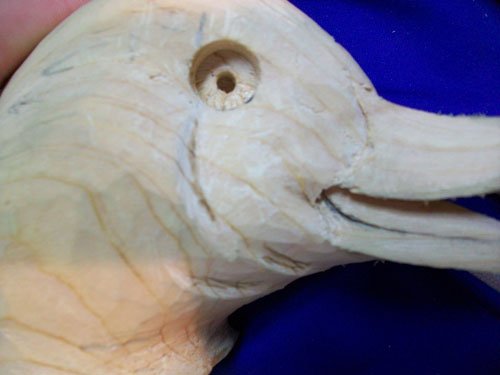
| 55. (Optional) Draw lines for the “muscles.” NOTE: Ducks don’t have muscles that show this much, but to me it is pleasing, and fun to do. |
 |
| 56. (Optional) carve muscles in. |
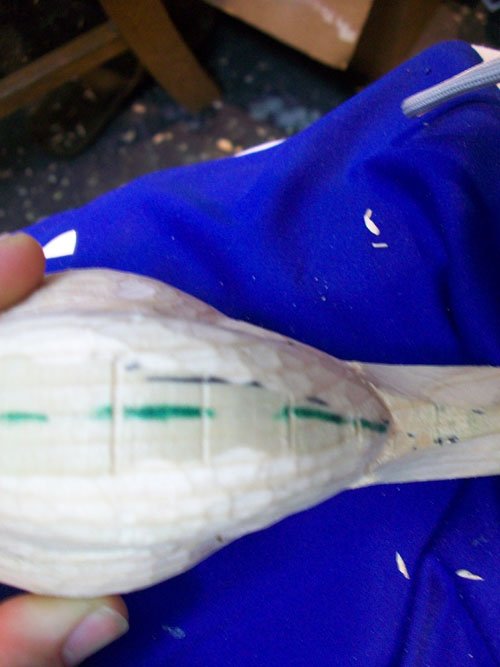 |
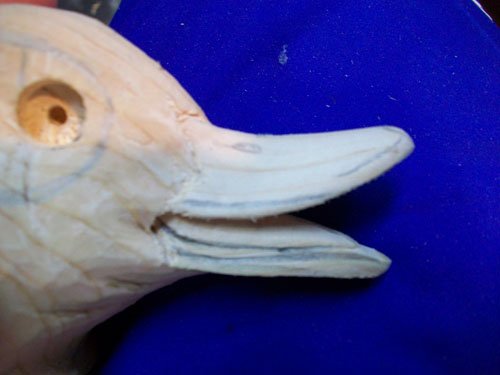
| 57. Notice how the jowl narrows the top view down to a nice size and shape. |
 |
|
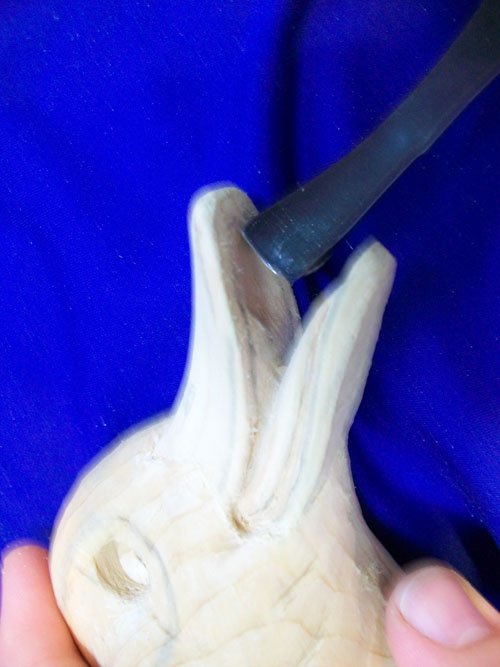
58. Draw lines on the bill and carve the separation for the tongue. |
 |
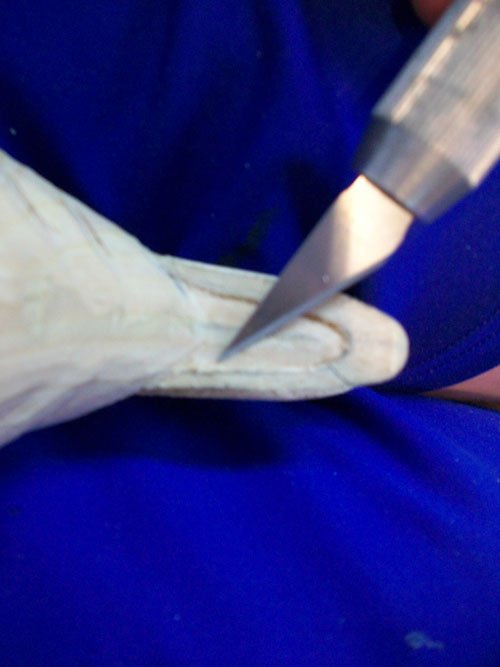
| 59. (Optional) Use chisel to carve the inside of the bill. |
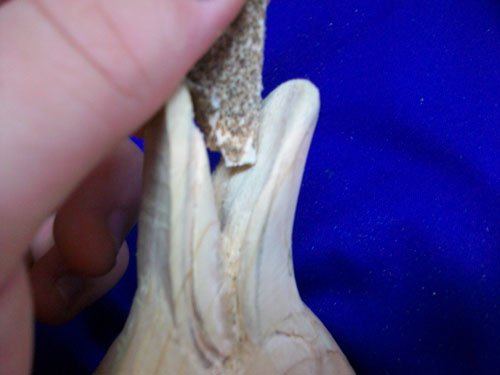 |
| 60. Sand inside of bill. |
 |
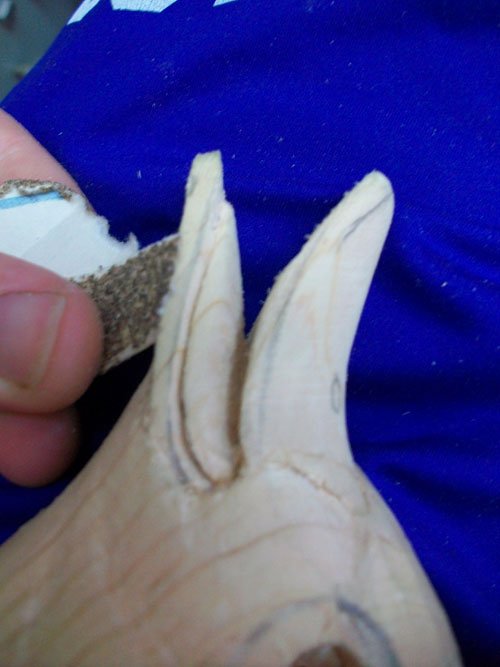
| 61. Carve under bill. |
 |
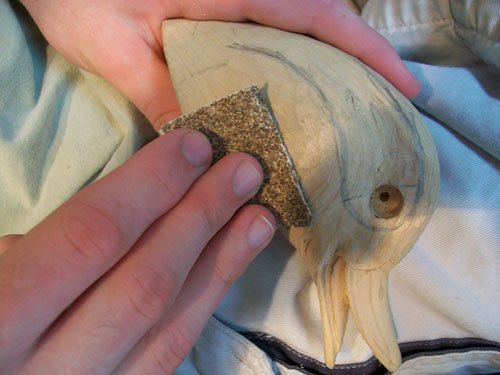
| 62. Round lower mandible with sandpaper. |
 |
| 63. Get brother to sand head for you. |
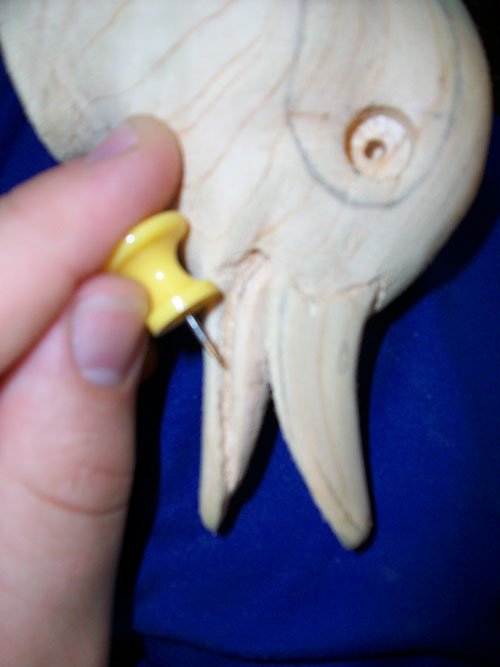 |
| 64. (Optional) Punch lamellae in with tack. It is easier for me than wood burning because I don’t have a fancy wood burner. |
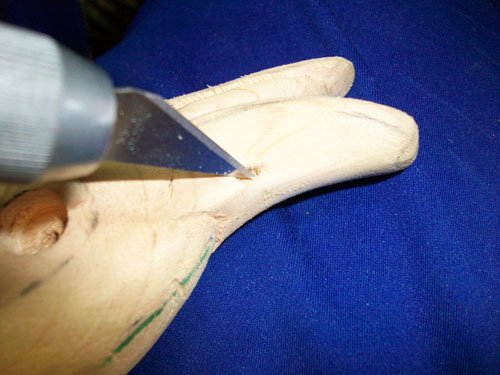 |
| 65. Carve nostrils. |
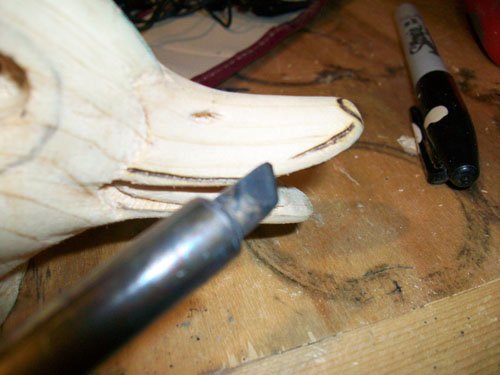 |
| 66. Use $10 wood burner (you can get it from any hardware store) to burn bill in. |
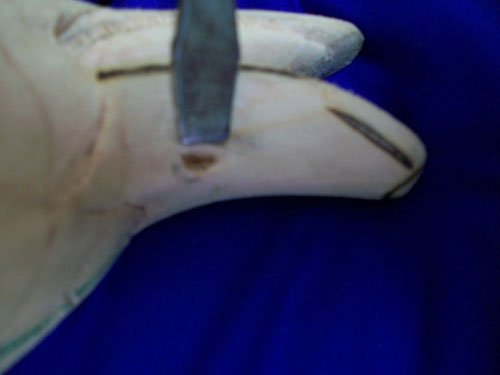 |
| 67. Use a flathead screwdriver to raise nostrils. |
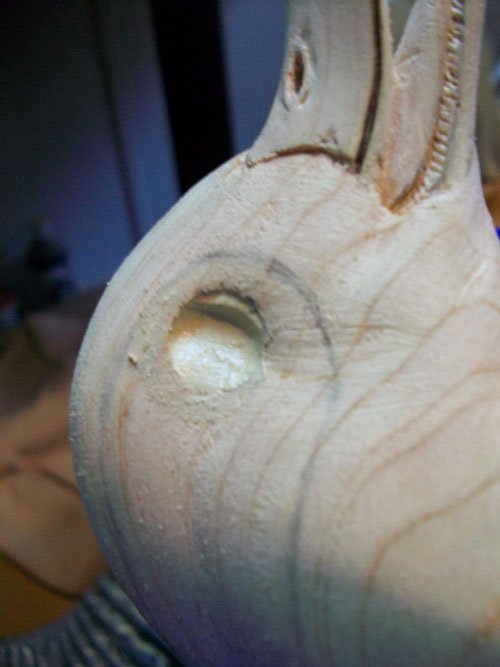 |
| 68. Put “Tuf-Carv” in the eye hole. |
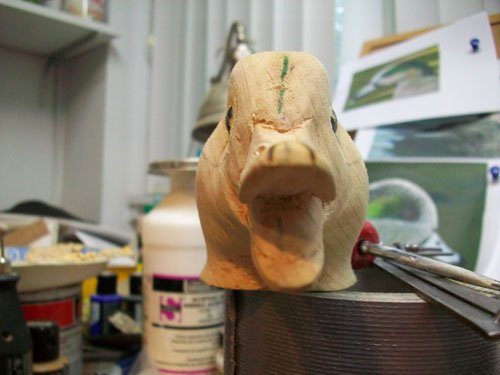 |
| 69. Insert eyes and let dry. |
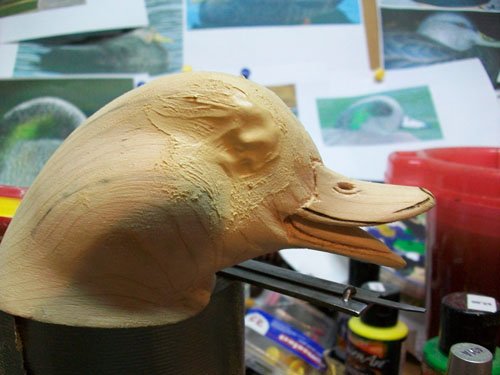 |
| 70.Put a lot of “Tuf-Carv” over eye to carve into a brow. |
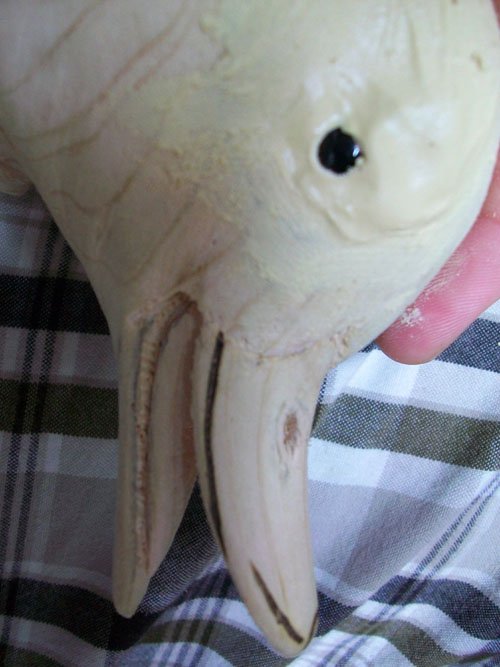 |
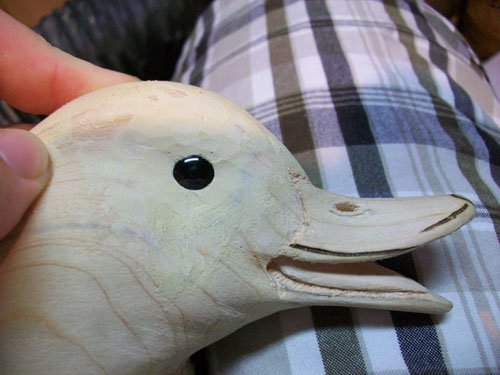
| 71. Probe for eye. |
 |
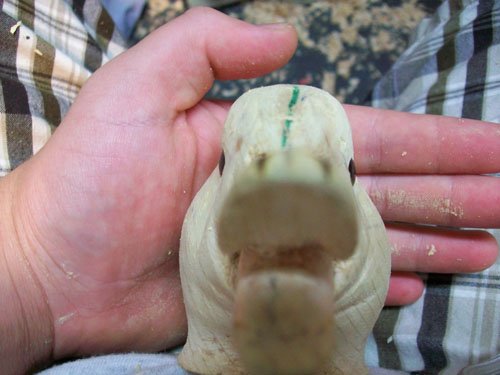
| 72. Carve brow. |
 |
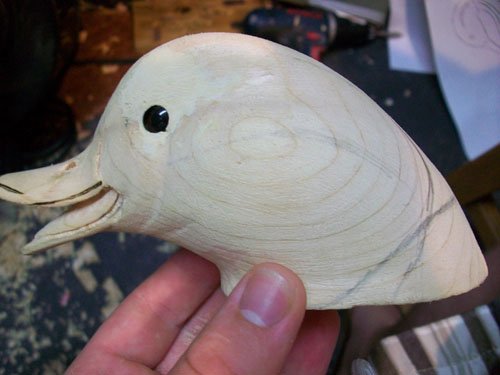
| 73.A look at the eyes with the small brow. |
 |
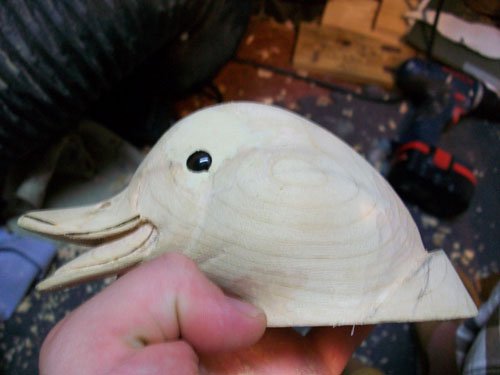
| 74. Draw back of head and shoulder in. |
 |
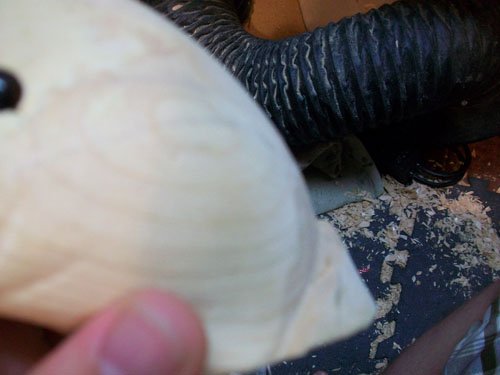
| 75.Carve back of head. |
 |
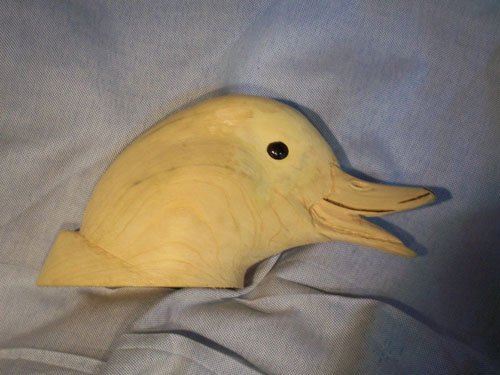
| 76. Round shoulder. |
 |
| 77. Touch up with sandpaper. |
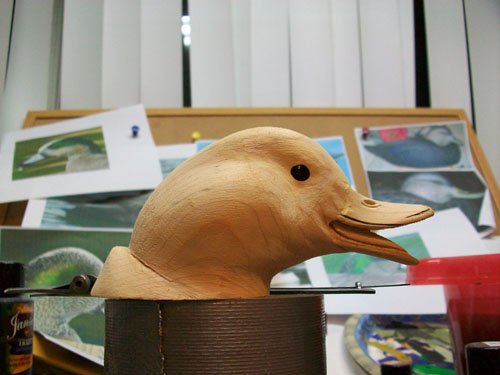 |
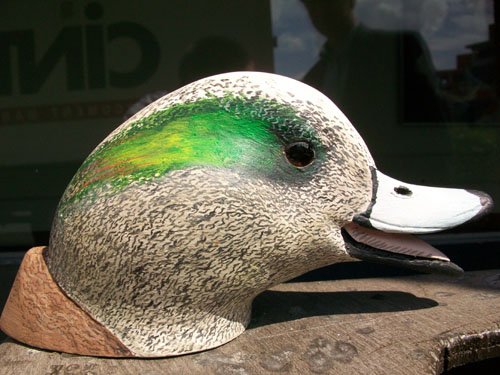
| 78. Finished carving. |
