Painting a Wigeon Head with Spencer Tinkham, Part 2
Text and photographs by Spencer Tinkham
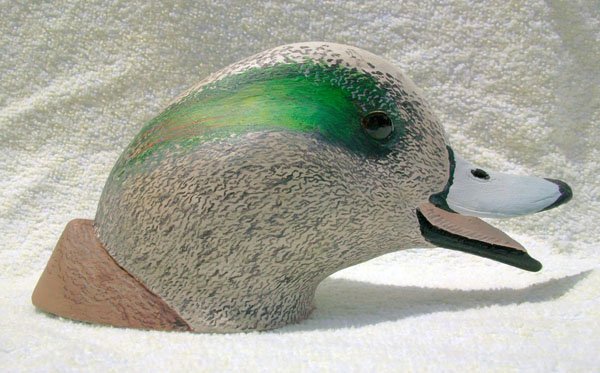
Spencer Tinkham completes his Wigeon head. In Part 1, Tinkham gave step-by-step instructions on carving the head, and now he paints the project.
 |
| Painting a Wigeon Head with Spencer Tinkham |
| |
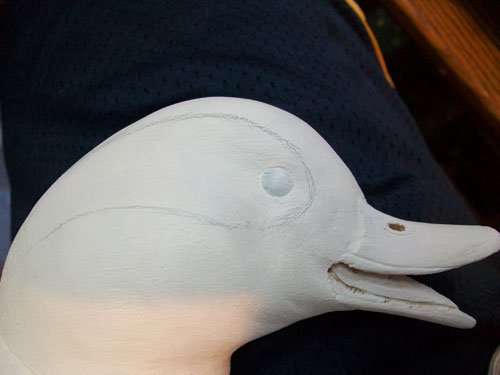 |
| 1. Gesso. |
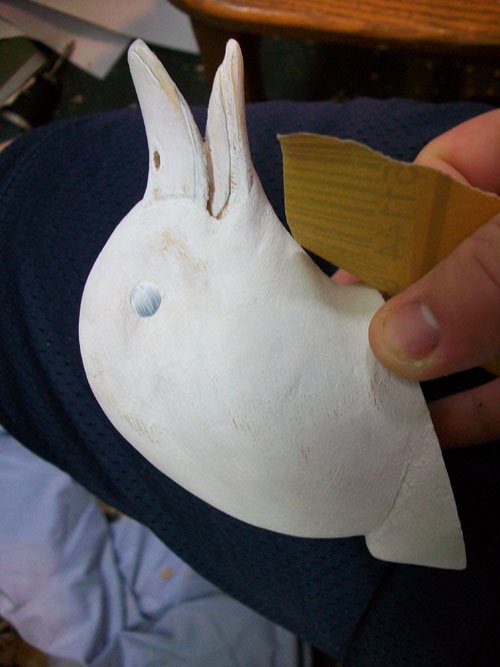 |
| 2. Lightly spot sand (take out rough spots) with 120-grit. |
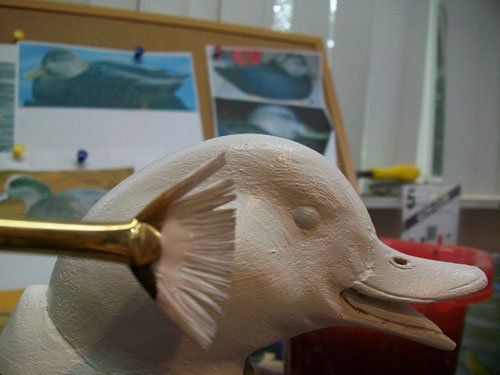 |
| 3. Paint second coat of gesso. |
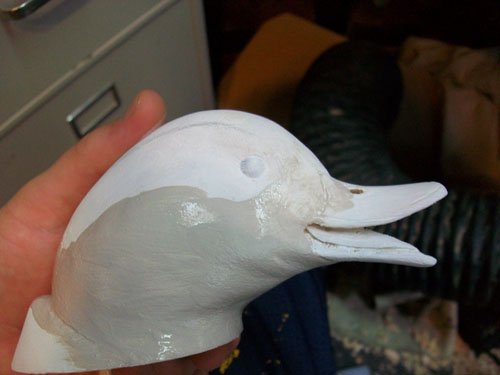 |
| 4. Apply base coat of 85% Gesso (white-W) so paint will have something to grab, 10% black, 5% beige, touch of purple. |
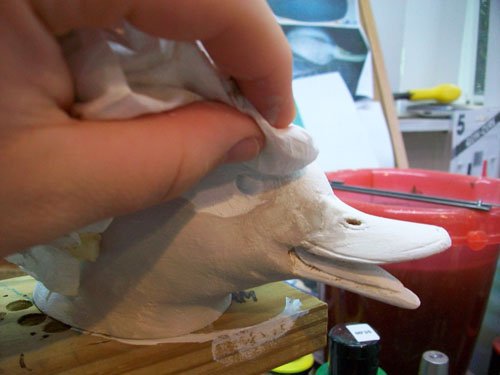 |
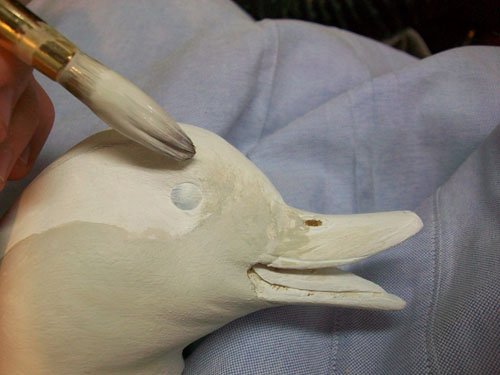
| 5. Blend out by placing water above where you want to blend, drag brush into water. Final blending can be done by dabbing a paper towel on the desired area. |
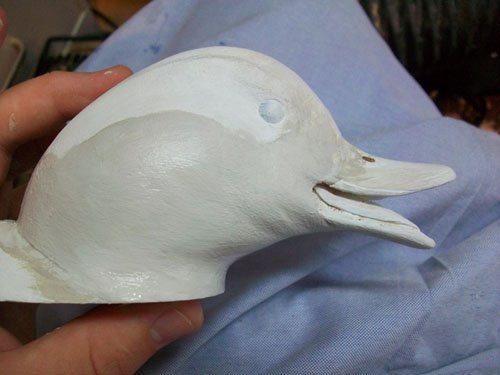 |
| 6. The end product. |
 |
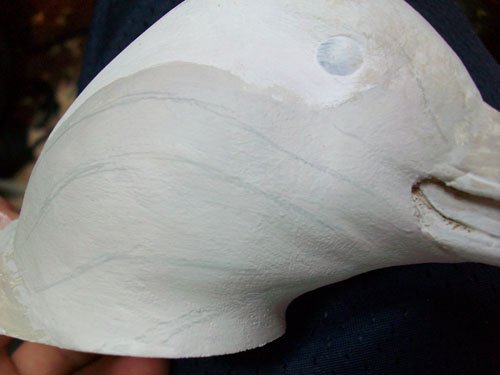
| 7. If necessary, touch up with a little paint. |
 |
|
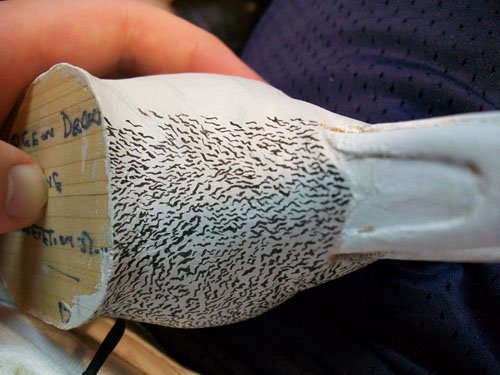
8. Draw flow lines with a Prisma water color pencil. |
 |
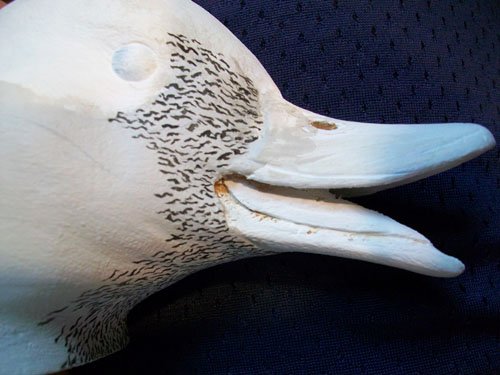
| 9. Paint fine squiggles on underside of head using 50/50 Black (BL) and Burnt Umber (BU). |
 |
|
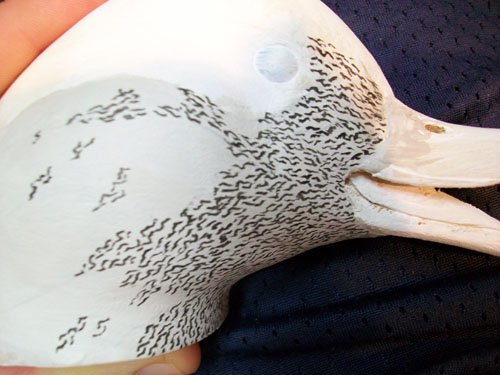
10. Now start to bring the lines up by the bill, still following flow lines. |
 |
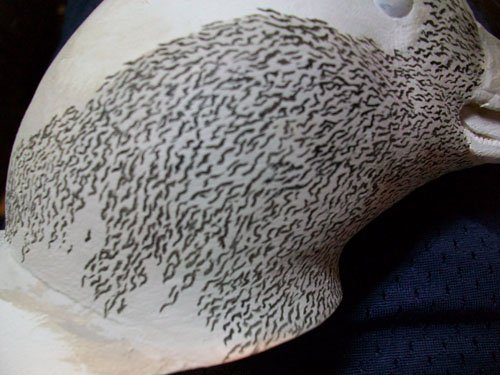
| 11. Keep following flow lines. |
 |
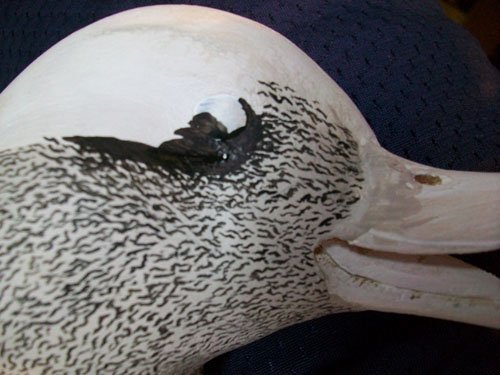
| 12. Bring the squiggles farther back. |
 |
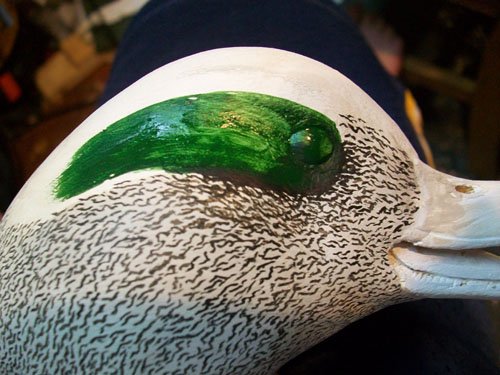
| 13. Apply 60% Bu and 40% BL around eye, and blend out into squiggles. |
 |
|
14. Apply two coats of 80% Green, 10% BL, and 10% BU. |
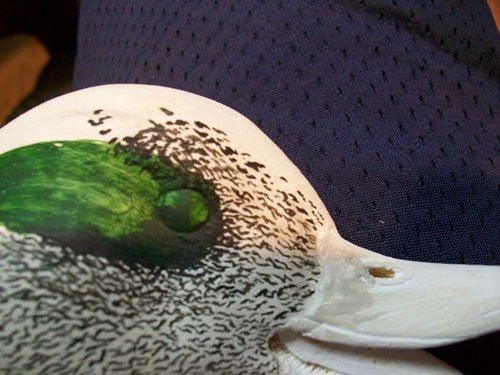 |
| 15. Bring squiggles up by eye, and into green. |
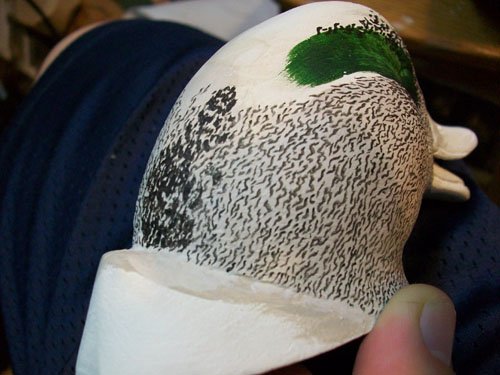 |
| 16. Thicken the color on the back of the head with the same dark mixture. |
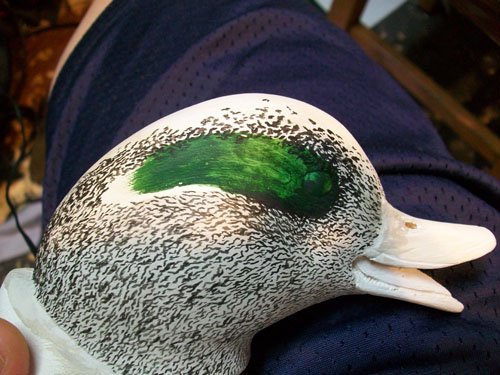 |
|
17. Join the back of the head to the squiggles above the green. |
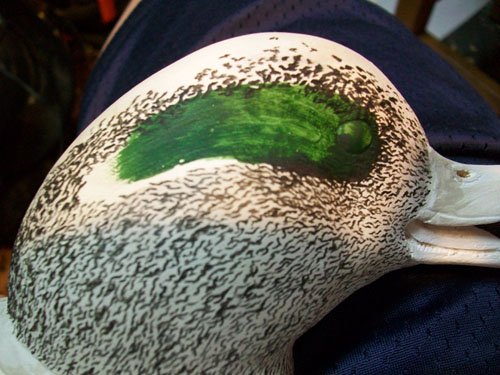 |
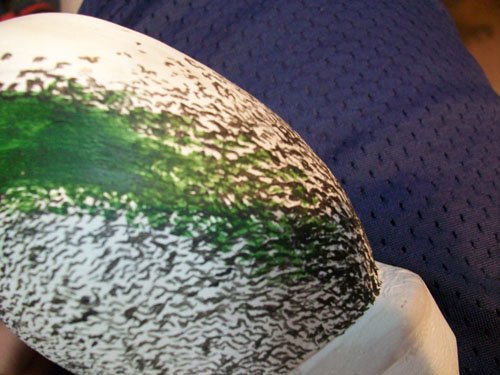 |
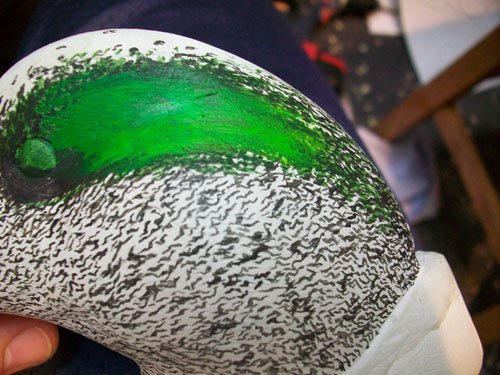
| 18. Start to fade squiggles from back of head into the white crown. (Use different watery mixtures to create more depth.) |
 |
|
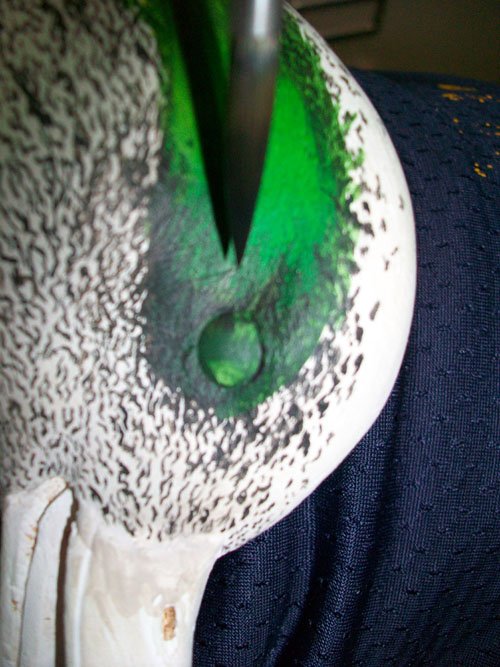
19. Fade green out into the squiggles use straight green. |
 |
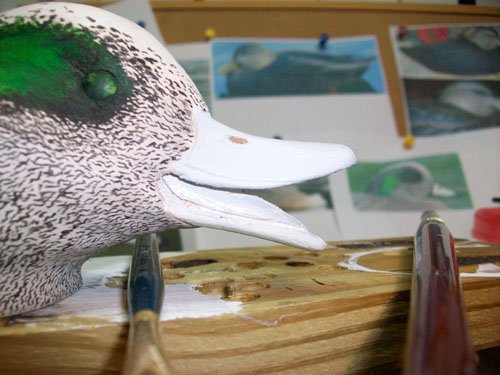
| 20. Apply straight green to highlight some of the existing green, and then blend a little Hansa Yellow light wet on wet to further highlight the green a little. |
 |
| 21. Wash around eye with dark squiggle mixture (NO PICTURE)- When everything is dry add a little red to the back of the green patch NOT TOO MUCH, less is more here. |
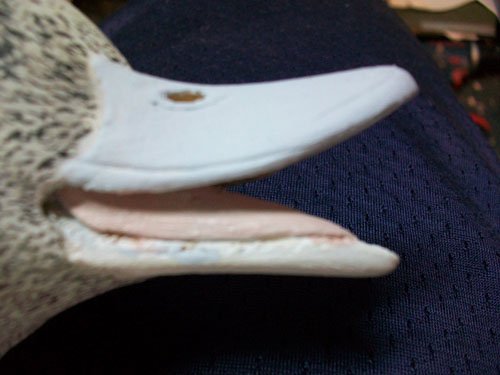 |
| 22. Paint bill with 85% W, 10% gray blue, and 5 % BU WIDGEON BILLS ARE NOT NEON BLUE!!!! |
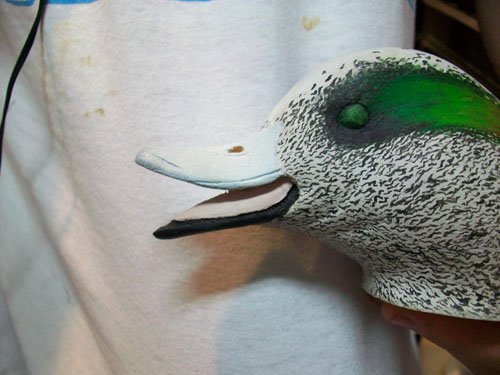 |
| 23. Paint tongue with 60% W, 15% gray blue, 15% red, 5% BU. |
 |
| 24. Paint lower mandible carbon black. |
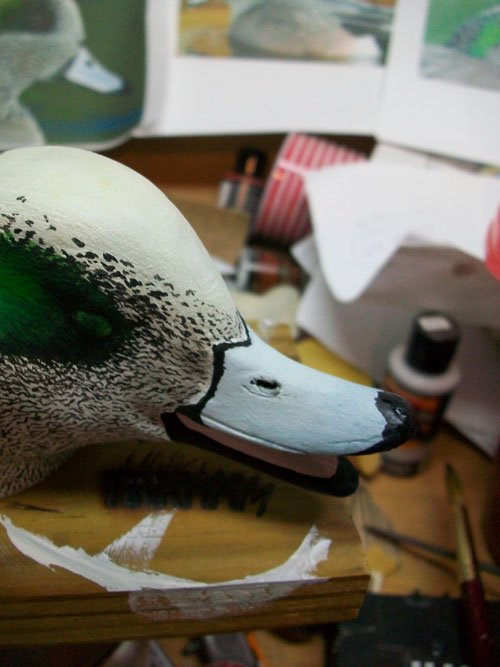 |
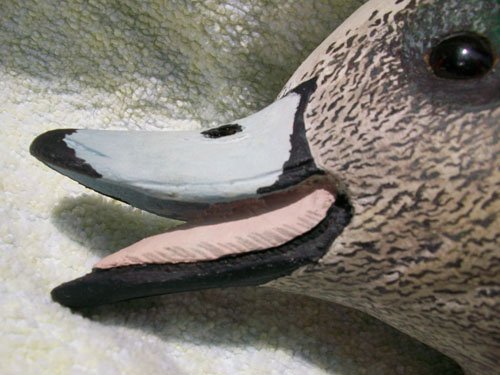
| 25. Paint black on upper mandible, and blend gray blue into front 1/3 of bill.- AGAIN apply water just above where you want to blend, drag brush into water, and finish it up by touching it up with a damp paper towel (or your finger). |
 |
|
26. Paint nostrils black NOTE- wash black into nostrils so that you won’t get black all over bill while trying to wiggle the paint in there. Your brush should put a few watery drops of black into the nostril.Paint notches in tongue by adding a touch of BU into the tongue mixture and finely painting. |
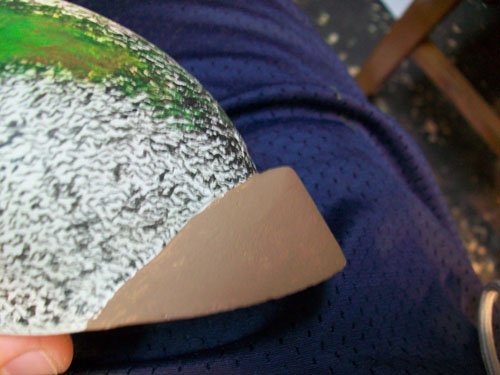 |
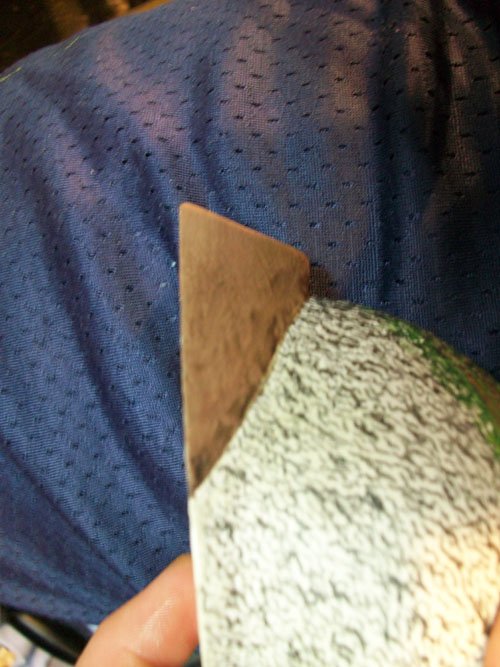
| 27. Paint shoulder with 60% medium beige, 40% Burnt Sienna. |
 |
| 28. Wash BU onto the top of the shoulder to darken it. |
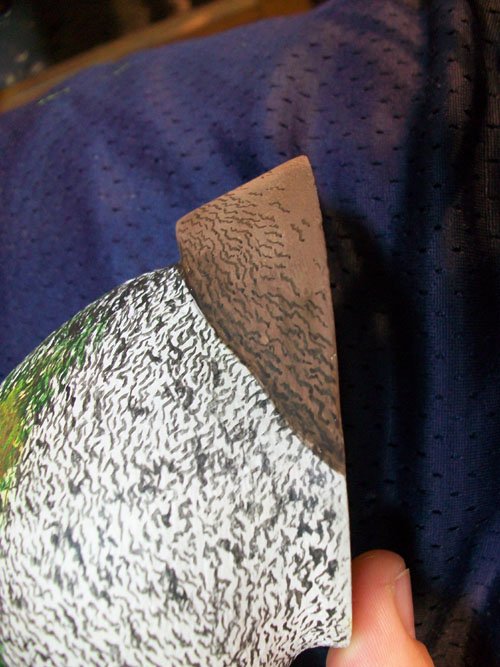 |
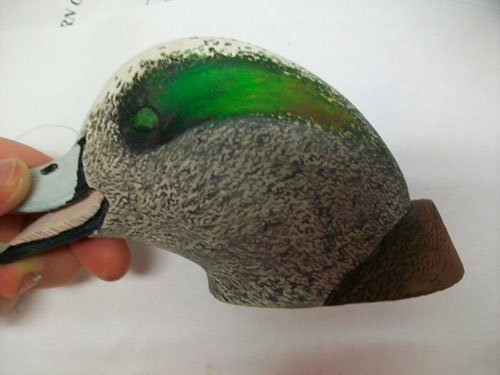
| 29. Vermiculate with 60% BU 40% BL. |
 |
|
30. Wash head with equal parts of BU, BL, and W (try not to paint too much on the green, but definitely paint the white crown, WIDGEON HEADS ARE NOT BRIGHT WHITE, NOR ARE THEY A SOLID GOLDEN COLOR, a little raw sienna wash may be added the front part of the crown to give it a SLIGHT gold sheen). |
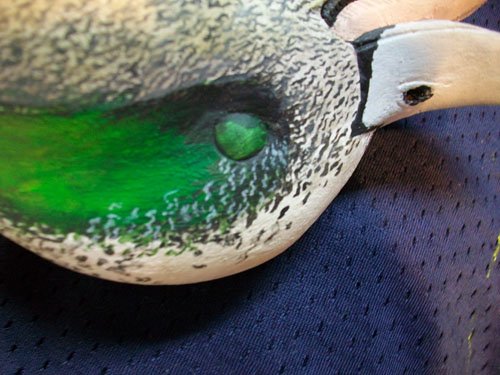 |
| 31. Add a little watered down white to the green to fade it out a bit more. |
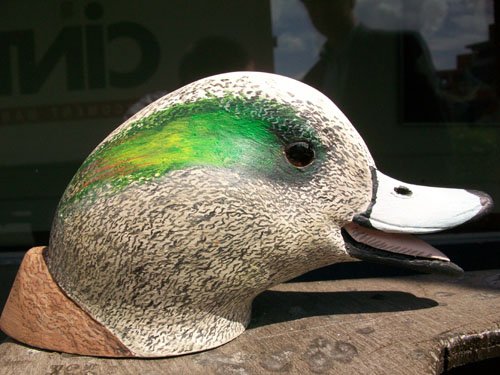 |
| 32. Take paint off eye and you’re done, don’t forget to sign it. |
| GOOD LUCK on the Wigeon! This is a quick and easy process that anyone can do. It is a great way to get new carvers involved, and is something that is “easy to get rid of” if you want a few extra bucks, or are making it as a gift as I was. Making “book end heads” is a great way to practice on what I see as the most important part of the whole bird: the head. The carving process took me about 2 ½ hours and painting took around 3 hours. Though you don’t have to photograph your carving as I did, it should take around 4 ½ -6 hrs to complete this (with breaks). |
