| |
 |
|
| |
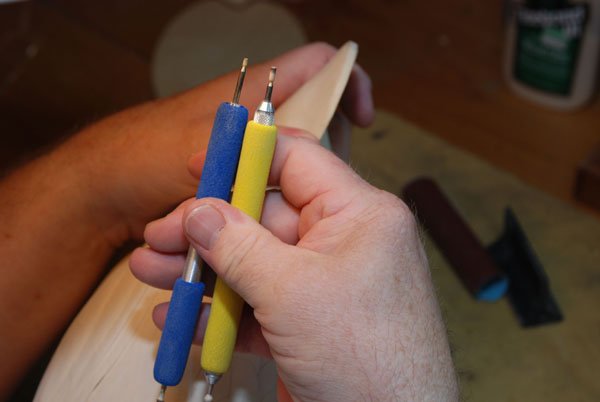
Rogers uses a hand-mount tool to hold his grinding stone rather than a power grinder. He believes this is a much simpler approach to adding feather detail and gives him grater control. In this demonstration, Rogers uses two round stones and two cylinders of different sizes. |
|
| |
 |
|
| |
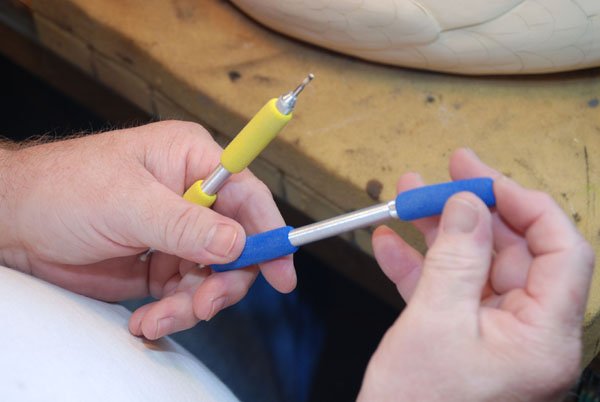
Pencil sleeves, purchased from an office supply store, provide a comfortable grip and allow Rogers to color-code his tool. |
|
| |
 |
|
| |
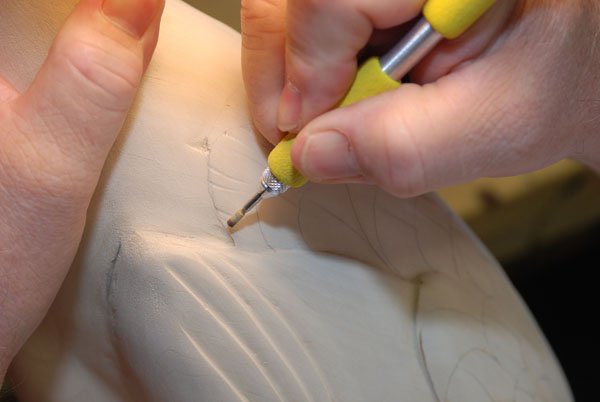
Working from the feather edge, Rogers "pulls in" splits in these coverts. |
|
| |
 |
|
| |
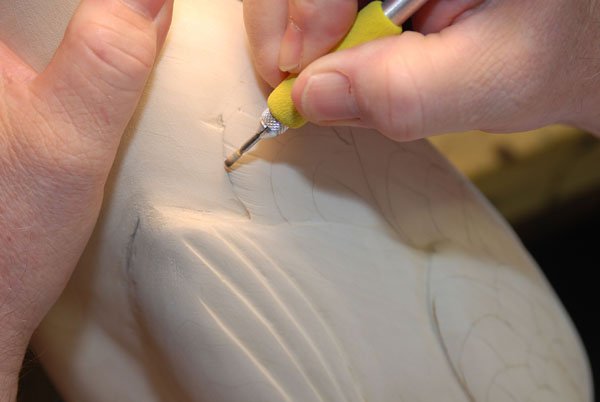
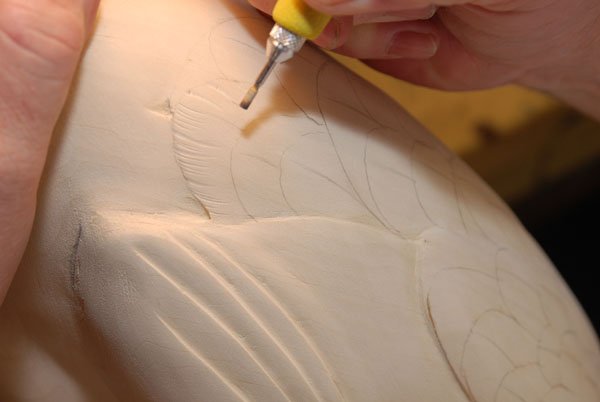
Rogers uses a cylinder to make the initial splits. He also experiments with dressing the edges of the cylinder to give splits different effects. |
|
| |
 |
|
| |
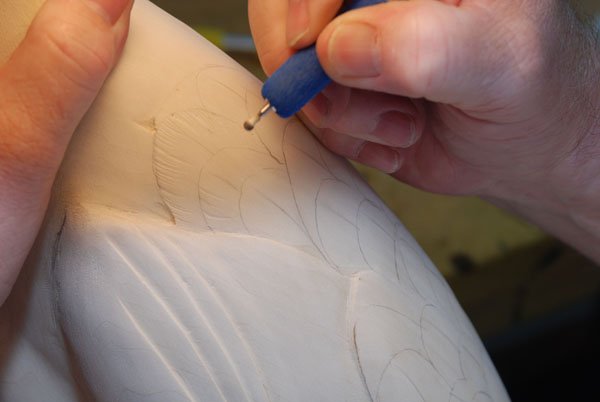
By varying the force he uses, and the length of the impression, Rogers varies the splits to create realistic feather detail. |
|
| |
 |
|
| |
Wider, major splits can be made with a broader, round stone. |
|
| |
 |
|
| |
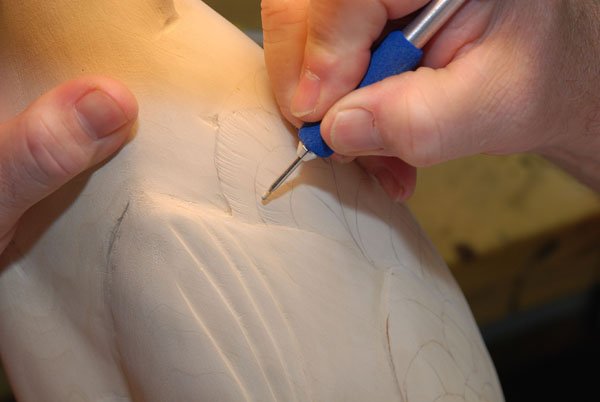
Finer detail results from the small cylinder. |
|
| |
 |
|
| |
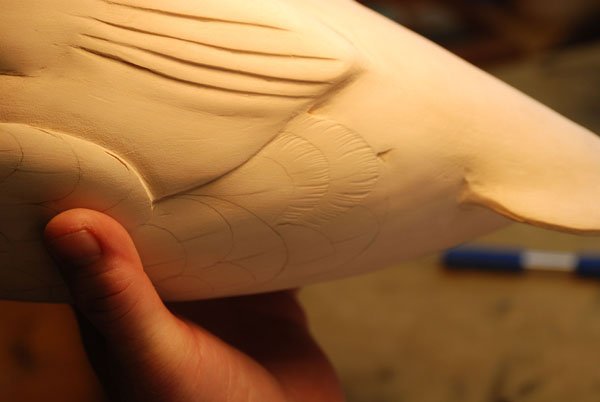
A combination of splits makes the feather detail realistic. |
|
| |
 |
|
| |
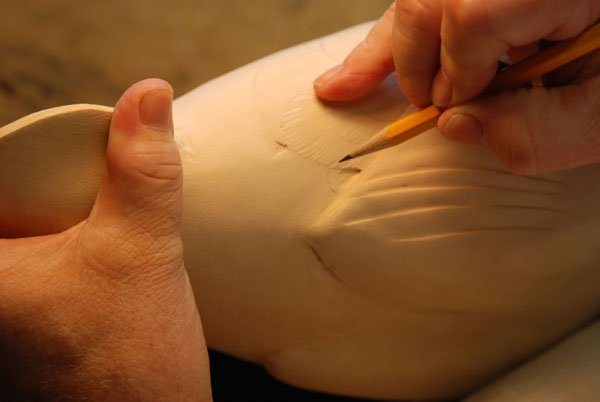
Here, Rogers begins to draw in another series of coverts. These will be detailed using a slightly different technique. |
|
| |
 |
|
| |
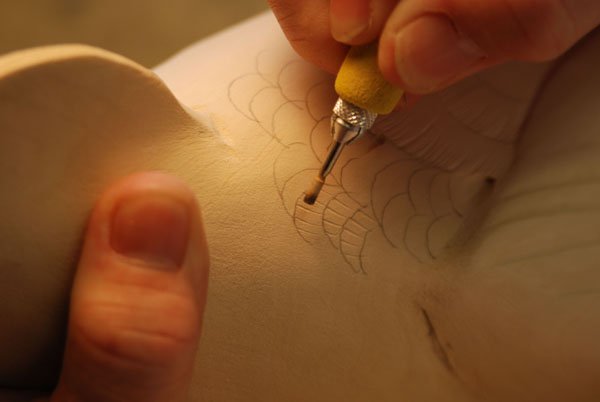
First, Rogers makes a series of straight splits using the cylinder. |
|
| |
 |
|
| |
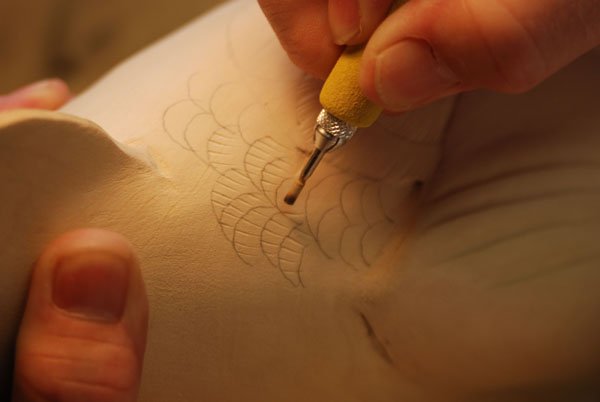
Here, eight feathers have the initial split. |
|
| |
 |
|
| |
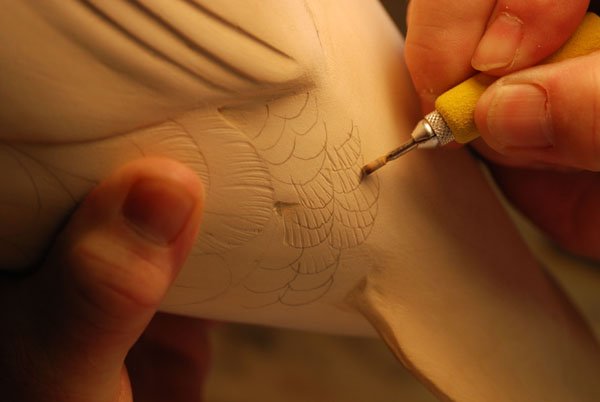
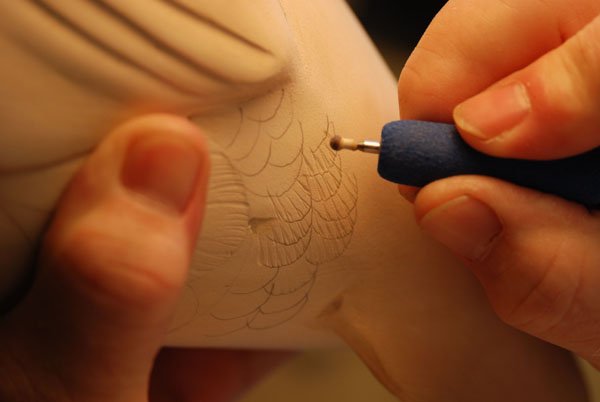
Now, using a slightly different angle, Rogers makes a companion line for each split. Starting just to the side of each initial split, Rogers "pulls in" a second line that converges and meets with the first leaving an elongated "V" pattern. Here, three of the coverts have the "V" pattern while the remaining five have only the initial splits. |
|
| |
 |
|
| |
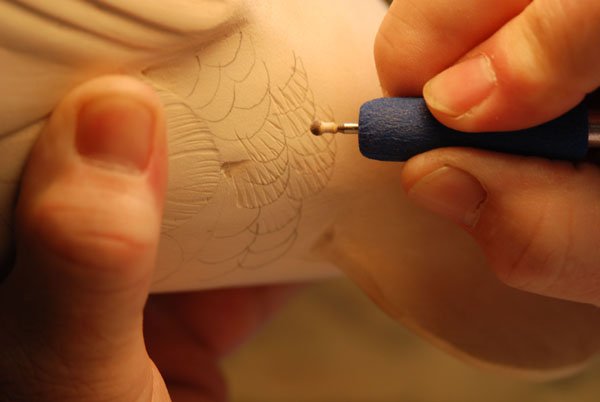
Finally, Rogers switches to the round stone and pushes down the raised wood in the center of the "V" leaving a wide split. |
|
| |
 |
|
| |
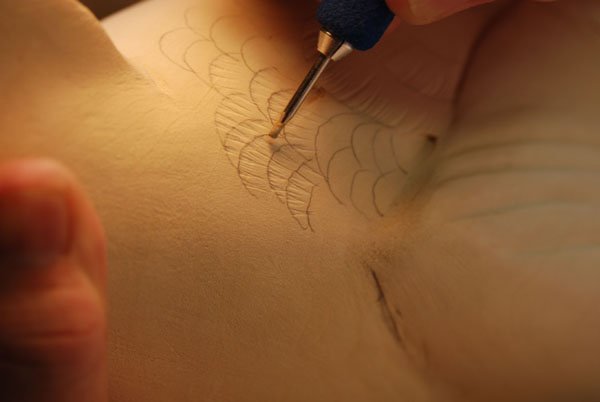
Here, the five feathers on the right have been stoned with the round bit. The neighboring three to the left have not been completed. Compare the feathers on the far left which were stoned with the first technique. |
|
| |
 |
|
| |
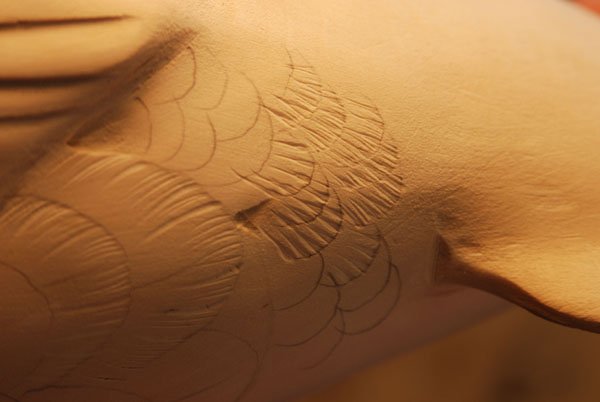
Rogers then switches back to the small cylinder to add small splits and complete the detail. |
|
| |
 |
|
| |
Feathers on the left were detailed with round and cylindrical stones to create smooth splits of varying sizes. The far right feather group has been stoned with the "V" technique and with fine splits added with the small cylinder. The group in the center awaits the fine detailing. |
|
| |
It's a simple idea you can experiment with, modify, and make it work for you. Enjoy! |
|